
Copy the Operating System to the SD
The purpose of this section is to load the operating system on the board. There are several possible solutions to boot Linux, for this tutorial we use a SD-CARD.
You need to copy to the SD-CARD: the bootloader (u-boot and MLO), uImage kernel and filesystem.
The first step is to be sure that the SD-CARD device is accessible from VirtualBox.
If your PC has a built-in slot for the SD-CARD, the VirtualBox probably will not detect it.
The solution is using an USB SD-CARD reader.
Connect the reader to your computer.
In the VirtualBox menu select Devices → USB Devices → “your adapter”.
Insert the card into the adapter.
If everything works Ubuntu will recognize the card and will appear in “/dev” folder the device sdd.:
ls /dev/sdd*

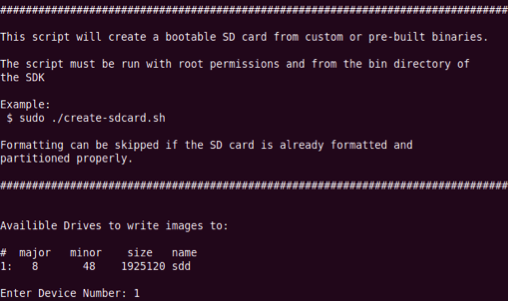
In ti-sdk-am335x-evm-05.06.00.00 directory in bin folder there is script file, create-sdcard.sh: launch it.:
cd /home/pengwyn/ti-sdk-am335x-evm-05.06.00.00/bin
sudo ./create-sdcard.sh
The password for sudo is: pengwyn.
If everything goes well you will the drive appears as available and ready to write the image. Select The drive:
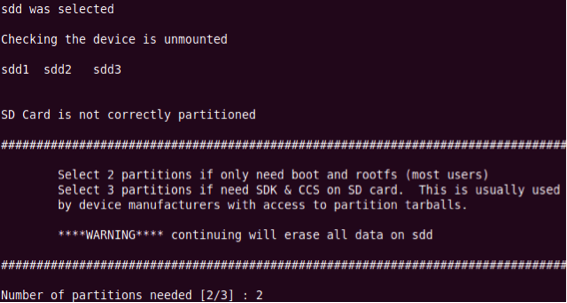
Unmount the drive as required by the script:
umount /dev/sddx
Where x is the number of device used.
Next the screen for partitioning the sd-card will appear. Select ‘y’.
Warning
Your sd-card will be formatted.**
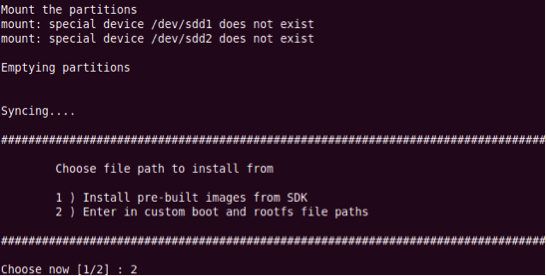
Select 2 partitions and wait until the partitioning process ends.
Now you need choose the path where the image files are located.
Select 2 for custom boot and rootfs paths.
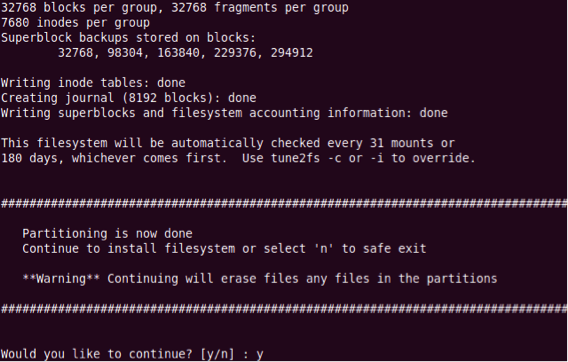
Press y key to continue. Type the path of the built-images folder.
/home/pengwyn/ti-sdk-am335x-evm-05.06.00.00/board-support/built-images
The script will display the files in the folder: MLO, uImage and u-boot.img.
Press y key to continue.
Finally provide filesystem location:
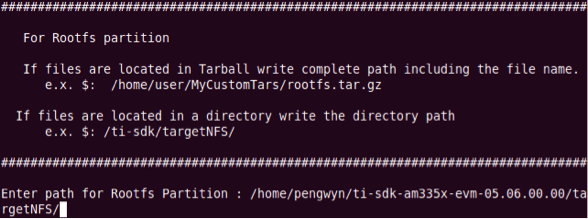
/home/pengwyn/ti-sdk-am335x-evm-05.06.00.00/targetNFS
and confirm it with y key.
This operation will take minutes.